
Searing meat is a culinary task in flavor-building, and let’s be honest, it’s the kind of flavor that makes you want to lick your plate clean. Once your meat hits a scorching hot pan, the magic happens! The surface caramelizes, unlocking a deep, savory goodness that you crave. It’s that irresistible flavor that takes your dish from good to unforgettable. Without a proper sear, you might as well say goodbye to a fantastic meal.
Now, some might think searing is just an extra, time-consuming step. Who wants to scrub another pot?
We get it; life can be a whirlwind, and time is a precious commodity. But then we see those well-intentioned folks tossing gray pieces of meat straight into a crockpot, and it makes us cringe a little. It’s a shame to skip such a crucial step, considering the flavor potential it brings to the table.
If you haven’t guessed it by now – we highly recommend searing your meat. It’s the not-so-secret step that elevates dishes like Osso Buco and Beef Pot Roast.
What is Searing?
Searing is a culinary technique that involves quickly cooking the surface of meat or other ingredients over high heat until it forms a flavorful, golden-brown crust. This process is typically done in a hot pan, skillet, or grill. Contrary to a common misconception, searing is not primarily about sealing in juices; instead, it’s all about enhancing flavor. When meat or other proteins are exposed to intense heat, a chemical reaction called the Maillard reaction occurs, resulting in the formation of complex, savory compounds and a delightful caramelization of the surface. Searing not only adds a rich depth of flavor to dishes but also contributes to their appealing visual appearance, making it a crucial step in many culinary preparations.
How to Sear Meat
Here are the top things to know about searing meat:
Pat It Dry
Patting it dry with paper towels is crucial because moisture inhibits the searing process. Dry meat browns beautifully and develops a flavorful crust. The drier the exterior of the meat, the better!
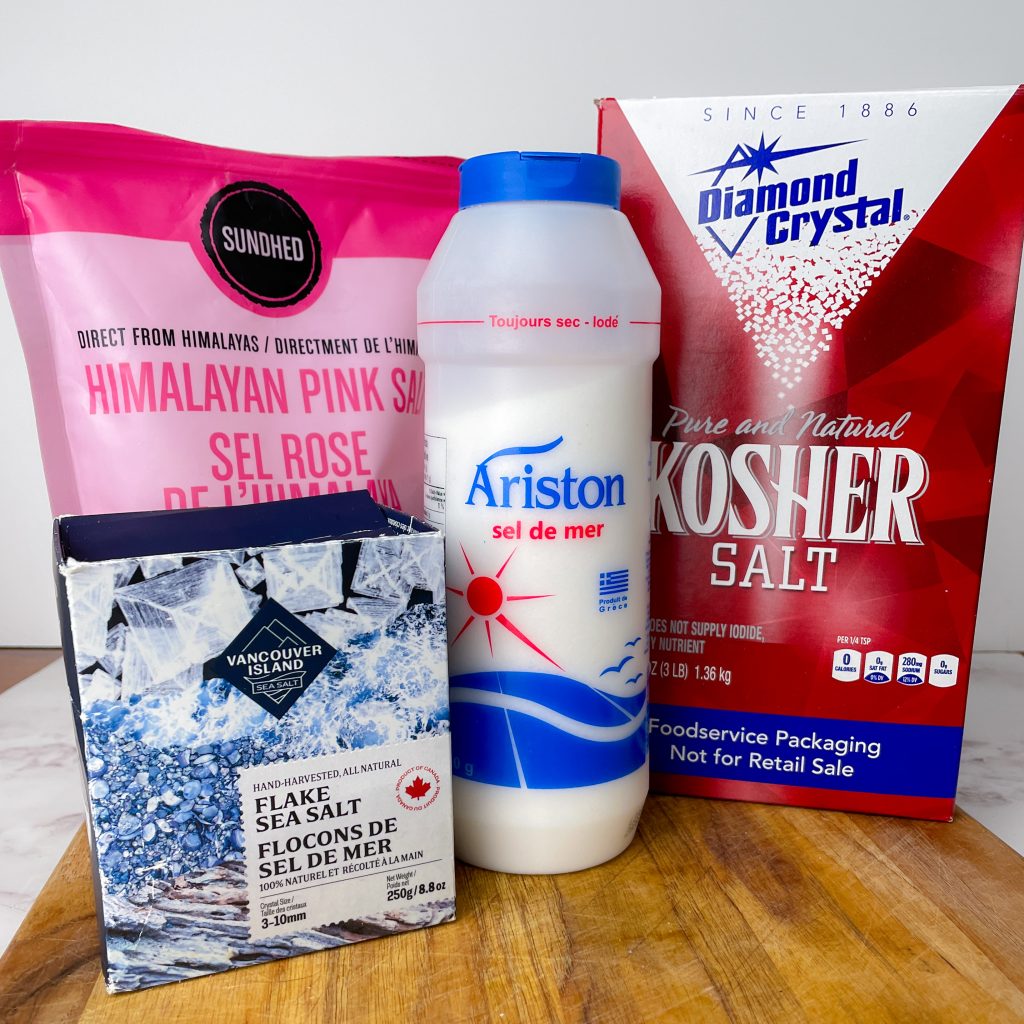
Seasoning
Salt has the incredible capability of enhancing the flavours of food. It can decrease bitterness and increase sweet and umami flavours. Generously season your meat on all sides for the best flavour. If you are salting in advance, it can help draw out moisture from the surface of the meat, promoting better browning.
Flour Or No Flour?
When it comes to achieving that perfect sear on your meat, you might find yourself wondering: to flour, or not to flour? Well, there’s no definitive right or wrong answer here. It’s all about personal preference and the outcome you’re aiming for. Let’s break it down a bit.
Firstly, there’s no need to flour steaks, chicken breasts, or other meats with short cooking times, unless you’re preparing breaded dishes like chicken breasts or pork cutlets.
We’re talking about putting flour on slow cooked meats…
Traditionally, many chefs and home cooks swear by the method of dredging meat in flour before browning it. If you’re new to the term ‘dredging,’ it simply means lightly coating the meat in a thin layer of flour.
Why do this? The primary reason is to thicken the sauce or stew that accompanies your meat. By using flour, you’re ensuring that the final dish has a rich and hearty consistency, rather than a thin, watery sauce.
Now, some would argue that flour impedes the Maillard reaction of the meat (caramelization of the meat’s proteins and sugars).
As such, many have now embraced browning meat without any flour coating. This method highlights the meat’s natural flavors and allows for a beautiful Maillard reaction – that’s the fancy term for the delicious browning that gives meat its distinctive flavor and appetizing color.
Additionally, forgoing the flour dredge eliminates concerns about food allergies.
But what about thickening the sauce or stew? If you’re skipping the flour dredge, there are other ways to thicken your sauce or soup. One popular method is to create a roux – a mix of equal parts flour and butter, cooked together until they form a smooth paste. It’s a classic thickening agent that’s been used for generations in kitchens around the world.
Alternatively, there’s beurre manié, a simple uncooked blend of flour and softened butter, which is added towards the end of cooking. It’s best to whisk this with a small ladle of stew or sauce in a small bowl before adding it to the pot.
For those with dietary restrictions, or if you’re just looking for a simpler method, cornstarch is a fantastic option. It’s gluten-free and a little goes a long way in thickening sauces and stews.
What is our preference? Like many, we have moved away from dredging our meat and gives us full control to thicken it later.
In the end, whether you choose to dredge your meat in flour or not, remember that it’s all about achieving the flavor that you and your diners will love. Each method has its own benefits and brings something unique to the table. So go ahead, experiment, and find your favorite way!

Screaming Hot Pan
High heat is essential for creating that flavourful caramelization. Set your stove top to medium-high heat.
To test if your pan is hot and ready for searing, a simple trick is to sprinkle a few droplets of water onto the surface. If the water droplets sizzle, dance, and evaporate almost instantly upon contact, your pan is sufficiently hot. This reaction indicates that it has reached the ideal temperature for creating the perfect sear on your meat.
Stainless steel and cast iron skillets are your go-to choices for searing because they have excellent heat retention and distribution properties. Nonstick pans may not reach the high temperatures needed for a proper sear.
Oil Or Fat
Using oil helps the heat uniformly cover the meat’s surface to get an even caramelization. It also prevents the meat from sticking to the pan.
Use a thin coating of oil in the pan and swirl it around to coat the pan evenly.
The best oil for this task is one with a high smoke point and a neutral flavour like avocado oil or extra virgin olive oil.
Alternatively, you can opt for beef tallow, or even repurpose leftover bacon fat, which also works exceptionally well for searing!
Crowding The Pan
When it comes to searing, the temptation to throw all your meat into the pan at once is real. However, this approach can result in a crowded, steamy environment where moisture can’t escape efficiently.
This results in steaming rather than the desired caramelization, ultimately impacting the flavor profile of your dish. To achieve that perfect sear and a burst of flavor, sometimes it’s best to divide your ingredients into manageable batches, allowing each piece its own space to shine and sizzle.
How much space should you leave between the meats? A couple of inches should be sufficient!
Searing Is A Test of Patience
When you first place the meat in the hot pan, it may stick initially. This is perfectly normal. The high heat causes proteins on the meat’s surface to bond with the hot pan, but as they brown, they naturally release.
Resist the urge to move the meat around prematurely, as it needs uninterrupted contact with the hot surface to sear correctly.
To determine whether it’s time to flip or remove the item from the pan, I use a pair of tongs or a fork, gently lifting a corner to check if it naturally releases from the pan. Don;t force it 🙂
The Leftover Brown Bits
As you sear your meat, you’ll notice brown bits accumulating in the pan. Don’t throw your pan in the sink at this point!
These delicious browned bits that make up the base, or “fond” in French, for a sauce or stew. Deglazing the pan with liquids like wine or broth not only helps scrape up these flavorful remnants but also adds depth and complexity to your sauce.
You will find this a common practice in dishes like osso buco and stew.
Searing meat is a simple but overlooked step in cooking. We hope you find these tips useful to make your dishes stand out!


